This tutorial illustrates how to capture disk image Snapshots, also known as Golden Images, and prepare them for bare metal provisioning, cloning and rollback.
•Snapshots are golden disk images of systems that are configurated and tuned exactly as desired to serve as customizable patterns to be reproduced to provision, clone and roll back systems. Golden images are consistent, reproducible elements that ensure consistency and save time compared to other bare metal provisioning techniques (using the OS installers with kickstart, preseed, unattend.xml, etc.).
•Scripts are used to customize Machines before and/or after capture or deployment: personalize and generalize, install applications, register services, etc.
•LSM Payloads combine both Snapshots and/or Scripts to increase the quality of deployments while automating the customization of each Machine to save time
Note - Best practices when capturing a golden image that is intended to be cloned/deployed to other Machines:
•Always try to capture a golden image from a Machine with the smallest disk available (cloning to a disk the same size or larger is automatic)
•Always try to capture a golden image from a Machine with the simplest disk configuration (e.g., a single disk when possible) so that you don't encounter trying to deploy "all" disks to a Machine with fewer disks than the Machine the golden image was captured from. Refer to the Tutorial: Servicing Multi-Disk Machines
Reminder: only Machines with BIOS firmware (not UEFI) are supported at this time. UEFI support is coming soon!
Login to the LSM Server's GUI to start this tutorial after entering the LSM Server's IP address in the browser:
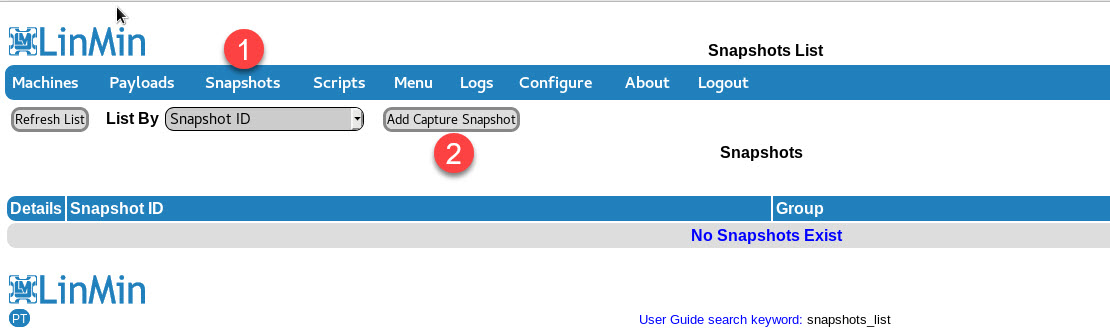
Add a Capture Snapshot. A Capture Snapshot is essentially an LSM RAM Agent command, used as a Stage of a Payload, instructing the RAM Agent to collect specific contents of a disk or multiple disks.
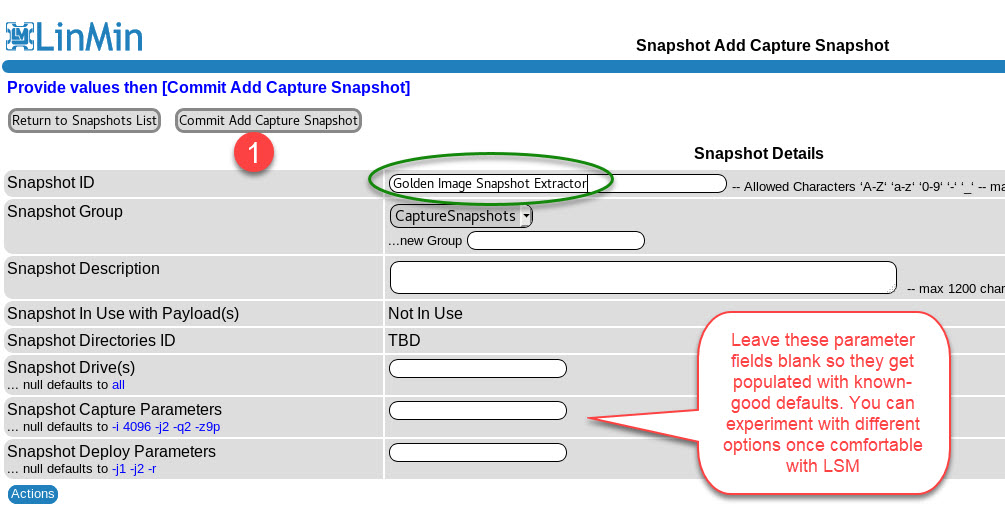
Enter a name for your Capture Snapshot.
The LSM default parameters are tuned for best performance and compression, and capture all Machine disks by default.
After you are comfortable with LSM, experiment with the Capture and Deploy Snapshot Clonezilla Parameters
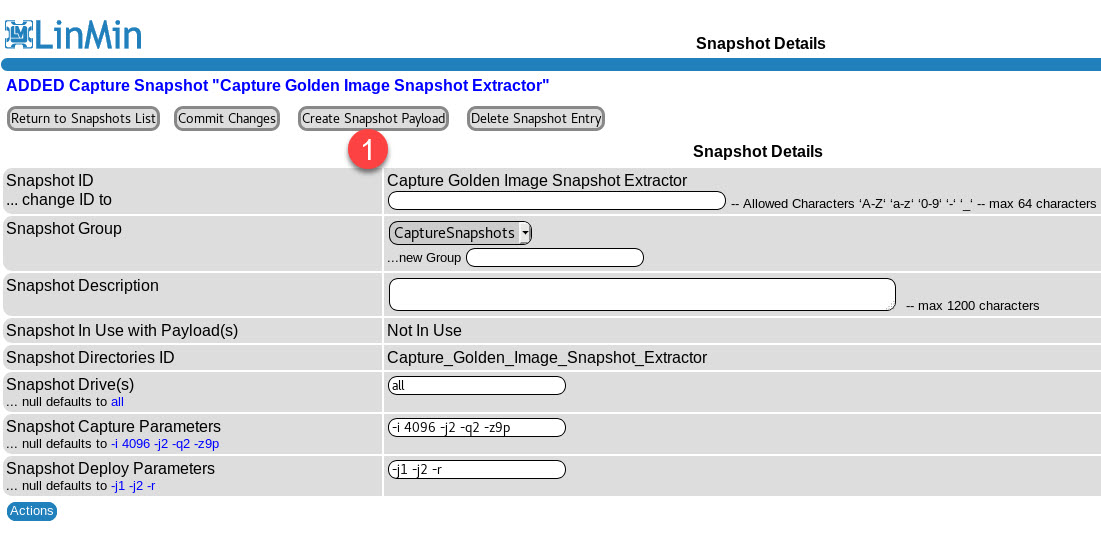
Observe the new Capture Snapshot you just added with Snapshot defaults automatically inserted.
Now create a Capture Snapshot Payload with the new Capture Snapshot as its first Stage:
The Payload has been created with a single click. This is a 1-Stage Payload. Payloads can have up to 9 Stages (Snapshots and/or Scripts). Payload Stages will be discussed in other tutorials.
Go to the Payloads List:

Your Payload is now ready to Capture the Golden Image of any of your Machines (Linux or Windows from Registered or Unregistered Machines):

Now that you have a Payload created with the new Capture Snapshot, you can set it as a Configure Machine Netboot Actions default so that any Machine that PXE-boots will have its disk image Snapshot captured:

However in this tutorial, we will show how to assign the Payload to an already-registered Machine.
Select a Machine from the Machines List:

Select the new Payload from the drop-down list and Commit Changes:

Now that the Machine has a Payload assigned, set it to the Netboot Ready state:

With the Machine set to Netboot Ready, return to the Machines List:

The Machines List show the Machine set to Netboot Ready:

Your Machine is now ready for LSM Service when it PXE boots...
Note: at this time, serviced Machines must use BIOS (classic), not UEFI (UEFI will be supported soon).
PXE-Boot the Machine to be serviced and the splash screen appears:


Now the LSM RAM Agent loads:

On the LSM Server, click Refresh List and see the State changed to Requested, as the LSM RAM Agent loads:

The LSM RAM Agent has invoked Clonezilla and partclone, and the Snapshot capture begins:

On the LSM Server, click Refresh List and see the State changed to Started, as Clonezilla and partclone were invoked by the RAM Agent:

The RAM Agent has finished processing the Payload, the Machine will now boot to the next firmware sequence:

And the Machine has rebooted (Payload Service Success Action defaults to Reboot):

On the LSM Server, click Refresh List and see the State changed to Completed and metrics are presented. Click Details:

The Snapshot has now been captured.
On the Machine Details, see the results, change the Machine state to No Service:

And Return to the Machines List:

The Machines List shows the Machine set to No Service:

Prepare the Snapshot for deployment: rename the Snapshot and create a Deploy Snapshot Payload:

The automatically-generated Snapshot ID provides a unique fingerprint with {Capture Payload ID} {MAC Address} {Last Payload Stage #} {Date-Time}, with "Deploy" pre-pended. In this example:
Deploy {Golden Image Snapshot Extractor} {00-50-12-34-4c-aa} {S1} {20190514-142954}
It is recommended you change the Snapshot ID and change the Group name from its default for better manageability:

Review your changed Snapshot values and create a Payload:

Having created a 1-Stage Payload to deploy the just-captured golden image Snapshot, go to the Payloads List:

The Payloads List shows the original Capture Payload and the newly-created Deploy Payload:

After LSM RAM Agent operations, several files get generated:
MachineProfile: the captured hardware configuration (profile) that is displayed on the Machine Details > Machine Settings (helpful for User scripting of Machine inventory)
PayloadMetrics: the timing metrics for RAM Agent load time, execution time of each Payload stage and total Payload execution time (helpful for optimizing execution times)
RamAgentService: the service log for this particular service event (helpful in troubleshooting)
The files are prefixed with {MAC Address}_{date-time}:
# pwd
/home/LinMin/service/MachinesServiced
# ll -t
total 36
-rw-r--r--. 1 root root 4774 May 14 14:29 00-50-12-34-4c-aa_20190514-142532_1_MachineProfile_192-168-49-67.txt
-rw-r--r--. 1 root root 591 May 14 14:29 00-50-12-34-4c-aa_20190514-142532_2_PayloadMetrics_192-168-49-67.txt
-rw-r--r--. 1 root root 77485 May 14 14:29 00-50-12-34-4c-aa_20190514-142532_3_RamAgentService_192-168-49-67.log
The Logs page lets the User follow all the steps taken and helps with troubleshooting in case of errors:
