User's Guide feedback on: Cisco Server Provisioner 6.6 User's Guide ("Chuck Berry") - Create a MAC-Independent Provisioning RoleProvision_Red_Hat_MAC-IndyTutorial: Provision Red Hat, CentOS, KVM and Fedora > Create a MAC-Independent Provisioning Role /Dear User's Guide Staff,
After you have used loadlinux.pl to prepare your ISO media, access the MAC-Independent Provisioning dashboard and select the "Add System Role" option:
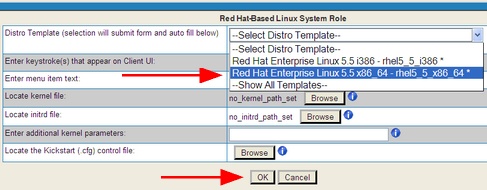
Select the distro you want to provision (remember, if there’s an asterisk next to a dropdown selection, it means that the distro media is loaded and ready for use):
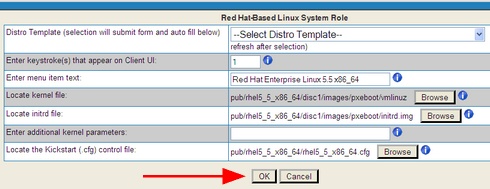
After you have selected the last item “Red Hat Enterprise Linux 5.5 x86_64”, the form’s fields will be automatically populated:
Click "OK" and you will see your newly created MAC-Indy Provisioning Role in the MAC-Independent Roles page:
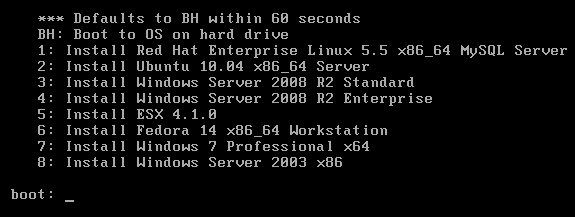
Select the OS or Hypervisor to be installed by number(s) or letter(s) using the Client system's keyboard. If you have set a "Default", that selection will be installed "unattended" starting in 60 seconds.
Note: this screen will not appear on a client system if either a MAC-Specific Provisioning Role or a MAC-Specific Imaging Profile already exists for it. MAC-Independent (PXE Menu) provisioning works only with unknown MACs. A MAC is "known" to LBMP if it was used for MAC-Specific Provisioning or Imaging.
If the MAC address is known, the client system will instead display a screen similar to the one below: